Quick Start
Who this is for
This quick start guide is for developers who are new to FigChain and want to get started with the platform. The example here is created using Java, and the prerequisites reflect this. If your application uses another language, you can follow along, and then you can refer to the clients section of the documentation for more information.
What this guide covers
In this quick start guide, we'll cover the basics of creating an account, creating a schema and a fig, and using the FigChain Java client in a simple application.
Prerequisites
- Java 21 or later
- Maven 3
Create an Account
- Go to https://app.figchain.io
- Click on one of the social sign-in options or use your email to create an account
- If using email, verify your email address
Create a Schema
Upon logging in, click on the Schemas button in the navigation bar. This will take you to the schema management page. Click the "Create Schema" button to create a new schema.
Enter the name Greeting for the schema name. Create a new field called message of type String.
After making these changes, your screen should appear similar to the following:
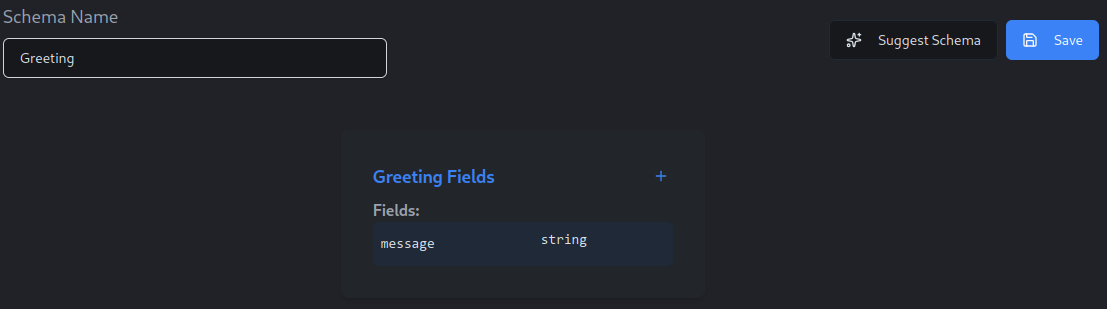
Click the Save button to save your new schema.
Inspect Schema Build
You should now see a build status screen, and your schema should be building. The page will refresh until the build is complete. Once the build is complete, you should see a success message and two buttons next to the schema. The leftmost button is for viewing schema build logs. The rightmost button is for inspecting the deployment instructions. These instructions will be used when creating your demo application.

Download demo application
Now is a good time to download the demo application. Using your preferred method, clone the github repository to your local machine.
https://github.com/figchain/fc-demos
Inside of the fc-demos repository you will find a directory called fc-demo-java. This is the demo application we will be using in this quick start guide.
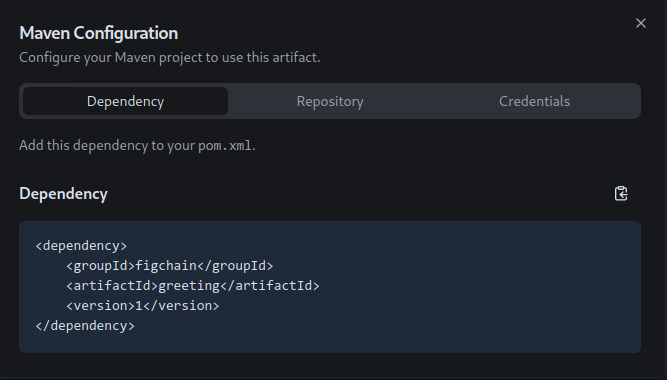
Open the fc-demo-java directory in your favorite IDE. This is a standard Maven project. You can open the pom.xml file and see the dependencies. The most important dependency that you will need to manage is the newly created schema artifact. If you named your schema Greeting, then the dependency in the quick start app should match exactly what you can see in the schema build page.
Verify Dependencies
Let's verify this. Click the rightmost button, "Show Maven Info". This will open a dialog that shows the Maven dependencies for the project. You should see a dependency that matches exactly what you can see in the schema build page.
Repository Configuration
The repository configuration is shown in the middle tab of the Maven Info dialog. Click this tab to view the repository configuration. Press the copy to clipboard button to copy the repository configuration to your clipboard. Then, paste this information over the top of the figchain-schemas repository configuration in the pom.xml file. Be careful not to alter any other repositories in the file.
Here is an example of what the repository configuration should look like, after you have made your changes. Note that your workspace ID will be different from the one shown in the example:
    <repositories>
        <repository>
            <id>figchain-public</id>
            <url>https://maven.repo.figchain.io/releases</url>
        </repository>
        <repository>
            <id>figchain-schemas</id>
            <url>https://maven.repo.figchain.io/releases/f7cb6a3e-a1d0-41ee-990d-c0a96c3de4ed</url>
        </repository>
    </repositories>
Maven Credentials Configuration
The Maven credentials configuration is shown in the rightmost tab of the Maven Info dialog. Click this tab to view the Maven credentials configuration. Press the copy to clipboard button to copy the Maven credentials configuration to your clipboard. Then, you should paste the Maven credentials configuration into your ~/.m2/settings.xml file.
Here is an example of what the Maven credentials configuration should look like, after you have made your changes:
<?xml version="1.0" encoding="UTF-8"?>
<settings xmlns="http://maven.apache.org/SETTINGS/1.0.0"
          xmlns:xsi="http://www.w3.org/2001/XMLSchema-instance"
          xsi:schemaLocation="http://maven.apache.org/SETTINGS/1.0.0 http://maven.apache.org/xsd/settings-1.0.0.xsd">
    <servers>
        <server>
            <id>figchain-schemas</id>
            <username>workspace-c84d9c4d-4075-4e5d-8330-fa92fdede7b2</username>
            <password>your-password</password>
        </server>
    </servers>
</settings>
Notes
- This step only needs to be done once, per workspace.
- You may not yet have a
~/.m2directory. If you do not have one, you can create it like this: - You may not yet have a
~/.m2/settings.xmlfile. If you do not have one, you can create it like this: - If you are using a different operating system, the path to your
~/.m2directory may be different. For example, on Windows, it may beC:\Users\YourUsername\.m2. - If you are logged into multiple FigChain workspaces, you may need to disambiguate the credentials for each workspace. You can do this by choosing a different
idfor each workspace in the~/.m2/settings.xmlfile. Be sure to use the sameidin the repository configuration in thepom.xmlfile.
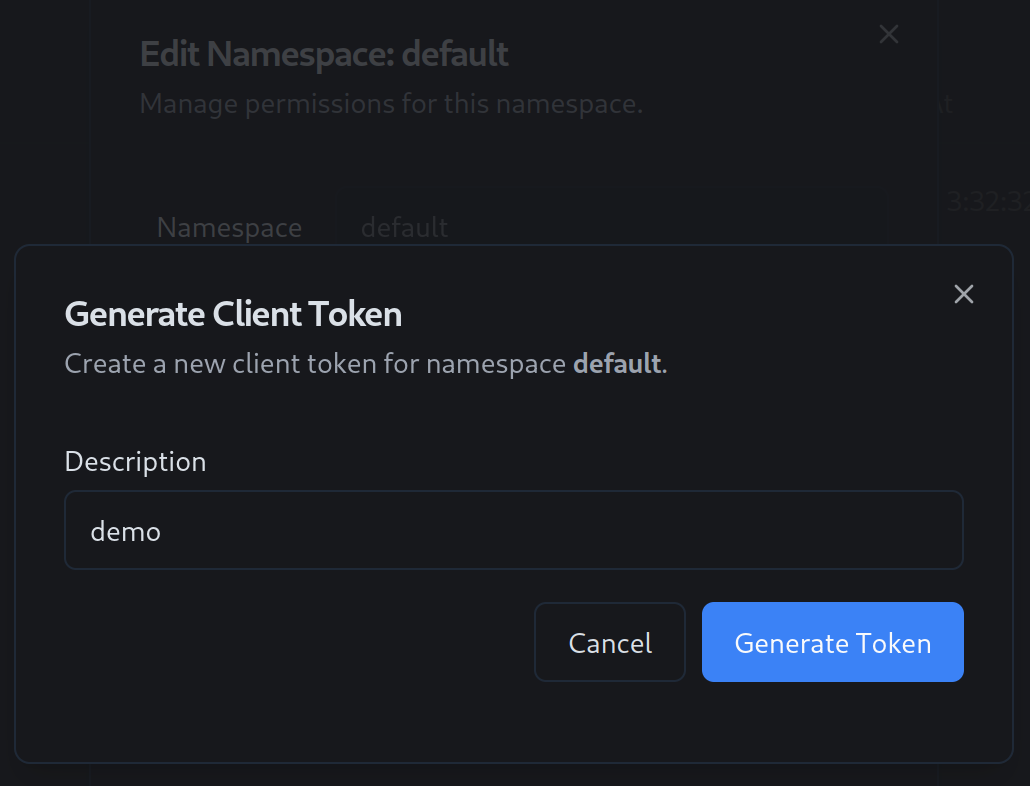
Create a client token
FigChain client tokens are used to authenticate requests to the FigChain API. You can create a client token in the FigChain app by clicking the namespace dropdown in the navigation bar and clicking the settings button next to the namespace you want to create a client token for. Follow the instructions to create a client token.
Fetch your environment ID
You can find your environment ID in the FigChain app by clicking on your avatar icon in the top right corner of the screen, and then clicking on the Settings menu item. Then, click on the Environments link to the left of the screen. You should see a list of environments. There is a button next to the environment ID to copy the environment ID to your clipboard. For now, we will use the sandbox environment, since configurations are rolled out to the sandbox environment immediately upon creation.
Run the application
Now that you have configured your Maven settings, you can build the demo application. Open a terminal and navigate to the root directory of the demo application. Then, run the following command:
export FIGCHAIN_CREDENTIAL=your-api-key
export FIGCHAIN_ENVIRONMENT_ID=your-environment-id
mvn clean install
This will build the demo application and install the schema artifact into your local Maven repository.
Since we have not yet created any figs, you should see a message indicating that the fig was not found.
[INFO] --- exec:3.6.2:java (default-cli) @ figchain-demo-java ---
Starting client and fetching initial data...
Client started
Greeting not found
Press Enter to exit...
Let's create a fig and see it in action.
Create a fig
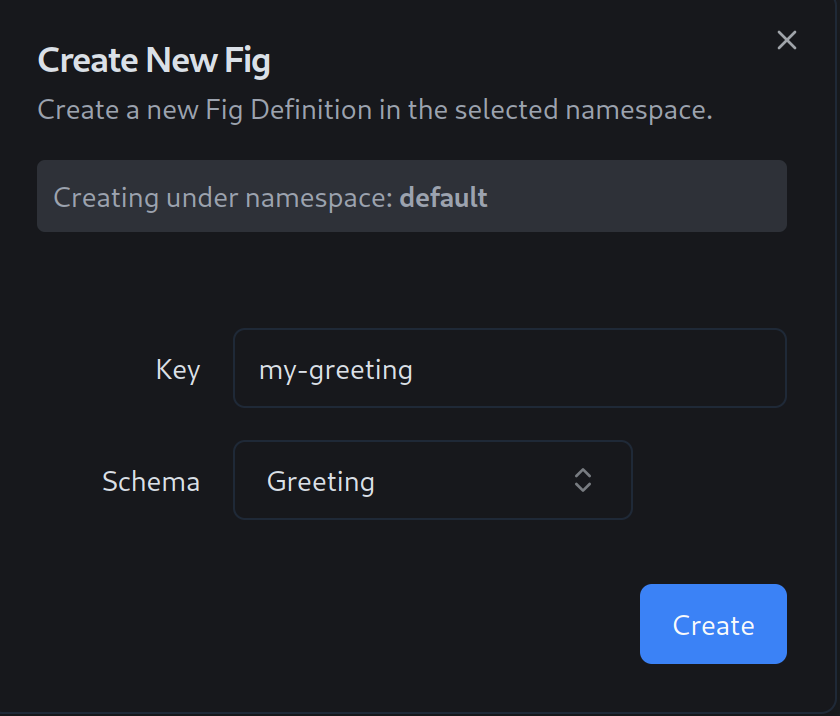
Click on the Figs link in the navigation bar. Then, click the Create Fig button. You should see a form to create a fig. Fill in the form with the following values:
Give the fig a key of my-greeting, to match the value in the demo application. Choose your schema from the dropdown menu. Click the Create button.
You should see a message indicating that the fig was created, and you should see your new Fig in the list. You have just set the key that your fig will be identified by, and you have assigned it your schema. Now, let's set the value of the fig. Click on the my-greeting fig in the list. You will see an empty list of versions. Click the New Version button.
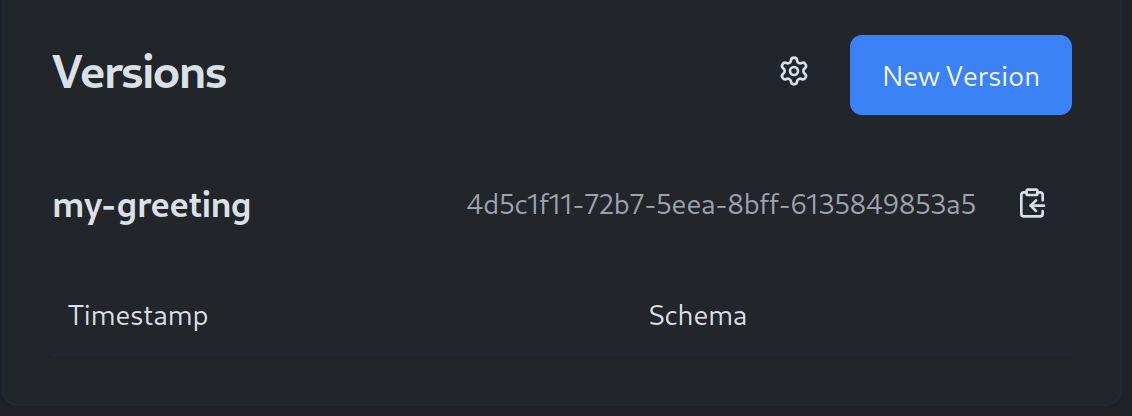
You should see the Fig value editor, which allows you to update the value of the fig. Enter any greeting that you like, click the green checkbox to accept your change, and click the Save New Version button.
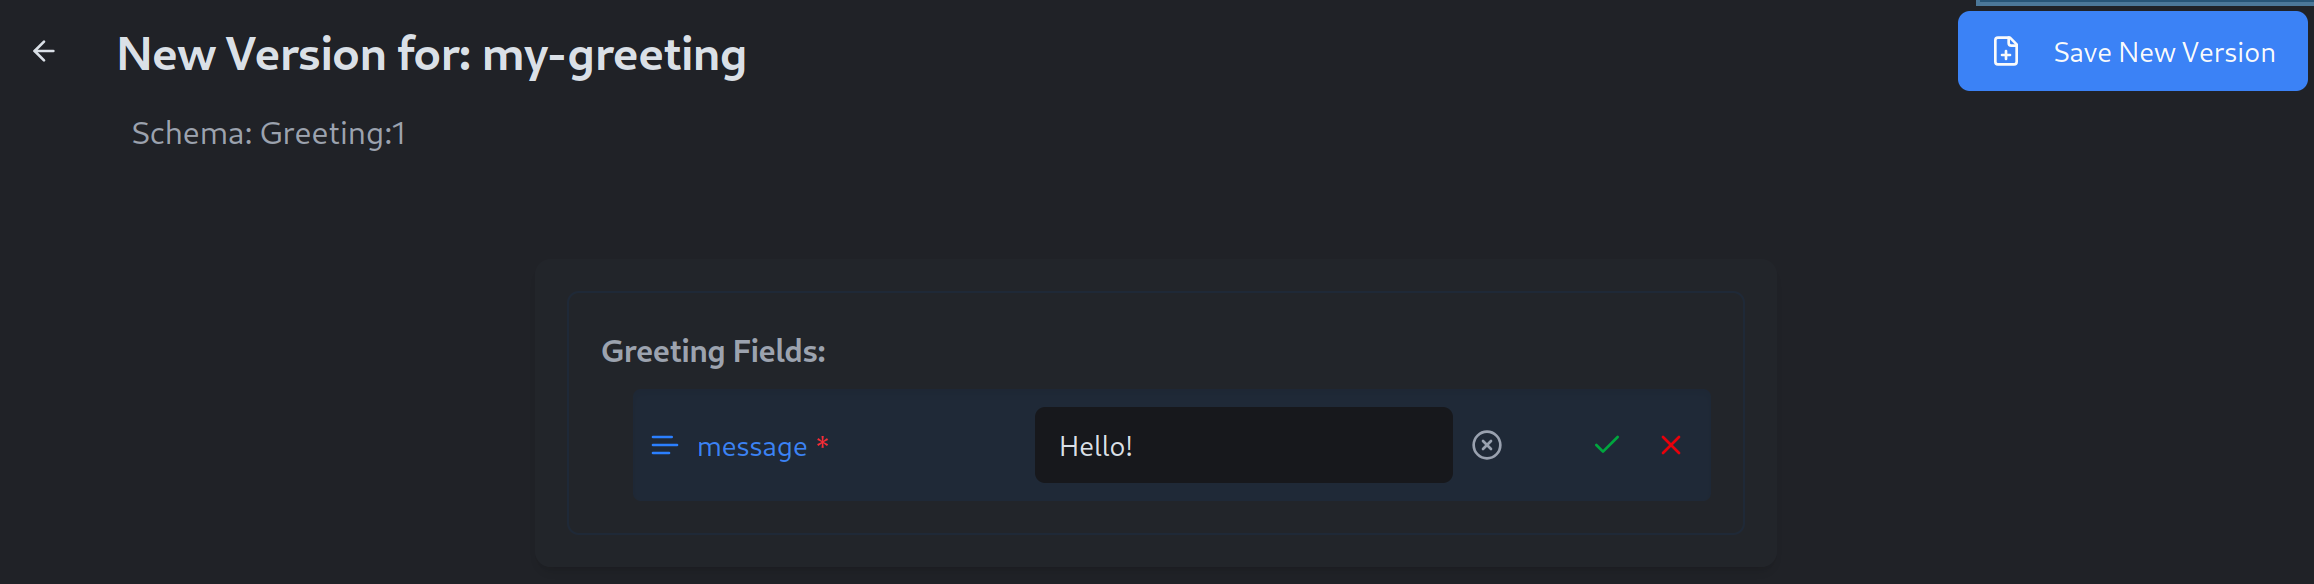
As soon as you click the Save New Version button, a new version of the fig will be created, and your application will receive the new value shortly after. You should see a message indicating that the fig was updated, and you should see the new greeting in the console.
Further reading
This guide introduced you to the basic concepts of the FigChain platform. FigChain includes advanced features such as environment rollouts, feature flags, and more. See the source code for more information.